Web-based PR Tutorial
A GitHub Pull Request guide that even beginners can understand (*´▽ `)ノノ
Warning
This tutorial simplifies many concepts to make them accessible to more people. It includes some inelegant but simple operations and not entirely accurate explanations. Please go easy on us, experts.
If you have some git experience and programming background, then why are you reading this, you can check out the more advanced tutorial GitHub Pull Request Process Overview
Basic Concepts and Terminology
This section might be a bit dry. Feel free to skip to the practical section below and come back here if you need clarification.
Repository
Abbreviated as "repo", the place where we store our code and other resource files.
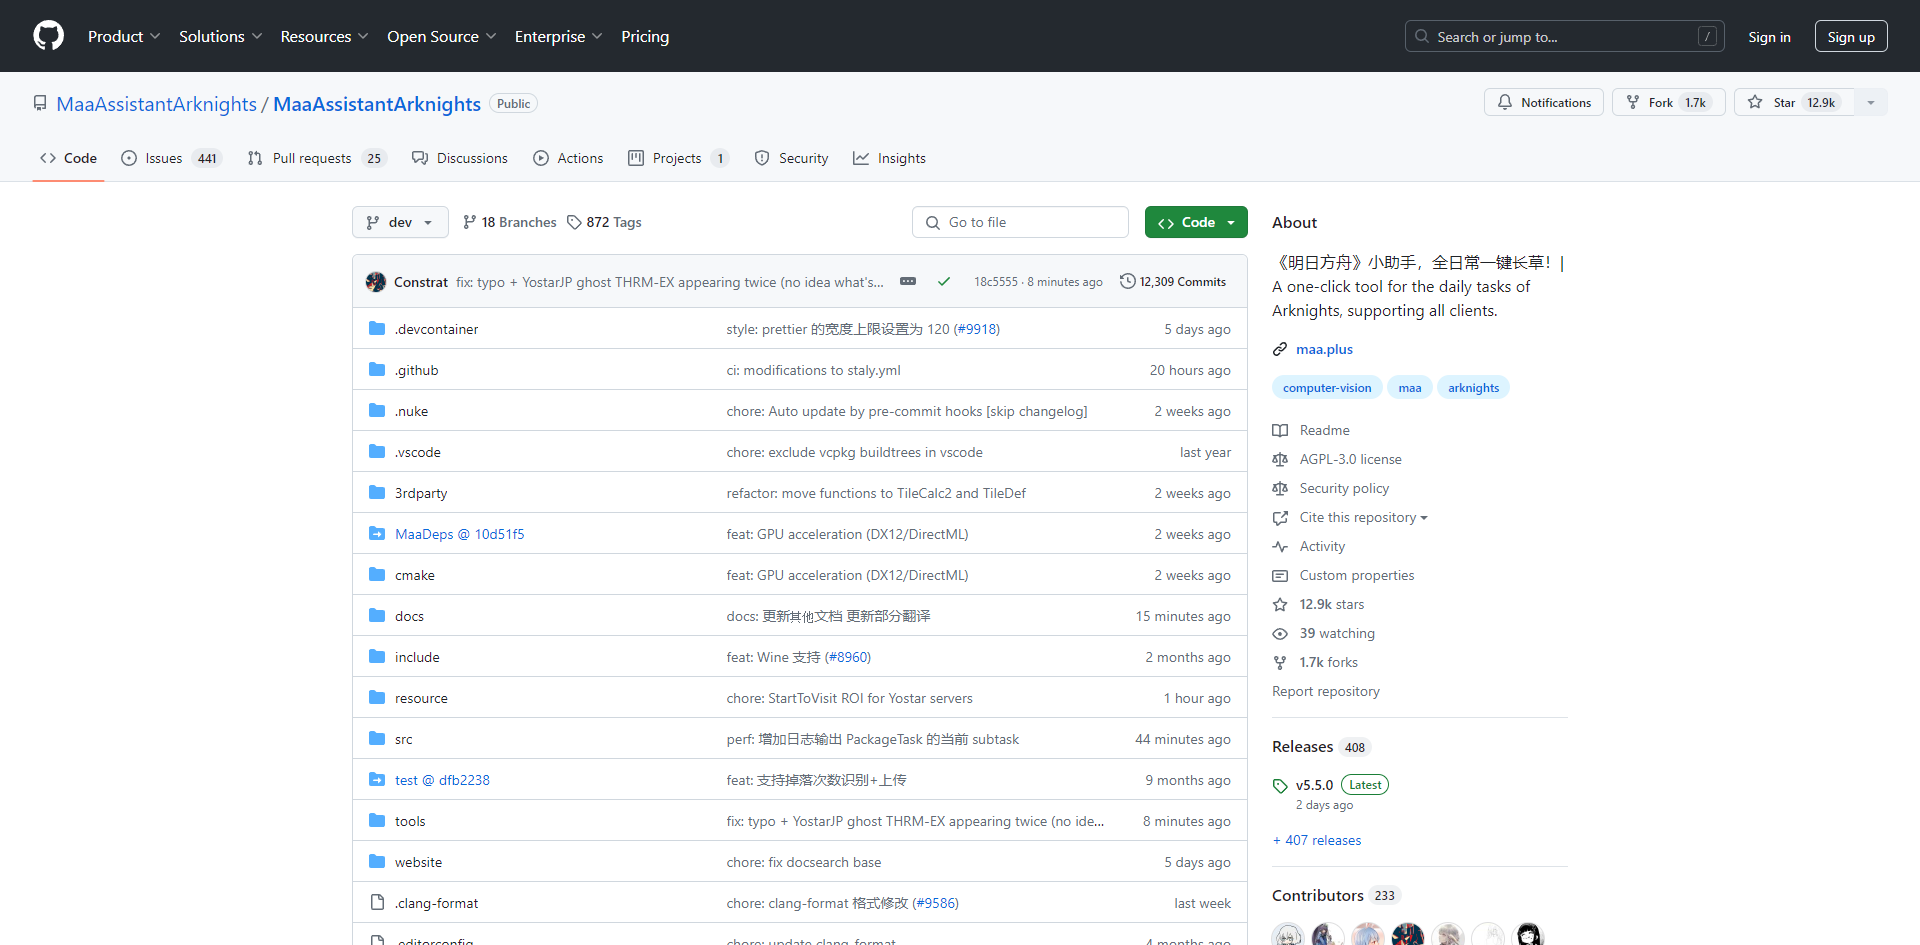
👇 You can simply understand this webpage and all its contents as MAA's repository (we generally call it MAA's main repository)
Fork
Literally means to copy. Fork a copy of MAA's code so you can make subsequent modifications without breaking the original.
Although "copy" in Chinese might first remind us of the "copy" operation, "fork" doesn't have a clear translation, so we usually use the English term directly, like "fork a copy of the code."
Since it's a copy, it becomes MAA (1) (just kidding)
To distinguish from the original repository, we generally call the original MAA repository the "main repository" or "upstream repository."
Since everyone can fork their own copy, the copied version is called a "personal repository" or "origin repository."
Pull Request
Abbreviated as PR. "Pull request" sounds strange when literally translated, and it's too many characters to type, so everyone usually just says "make a PR."
Following the above, after you fork your personal repository and make modifications, how do you contribute your changes to the main repository? This is when you can open a PR to request that your modifications be added to the main repository.
Of course, since it's a "request," it naturally needs approval. MAA Team members might provide feedback on your modifications, though our opinions aren't necessarily always correct - let's discuss reasonably~
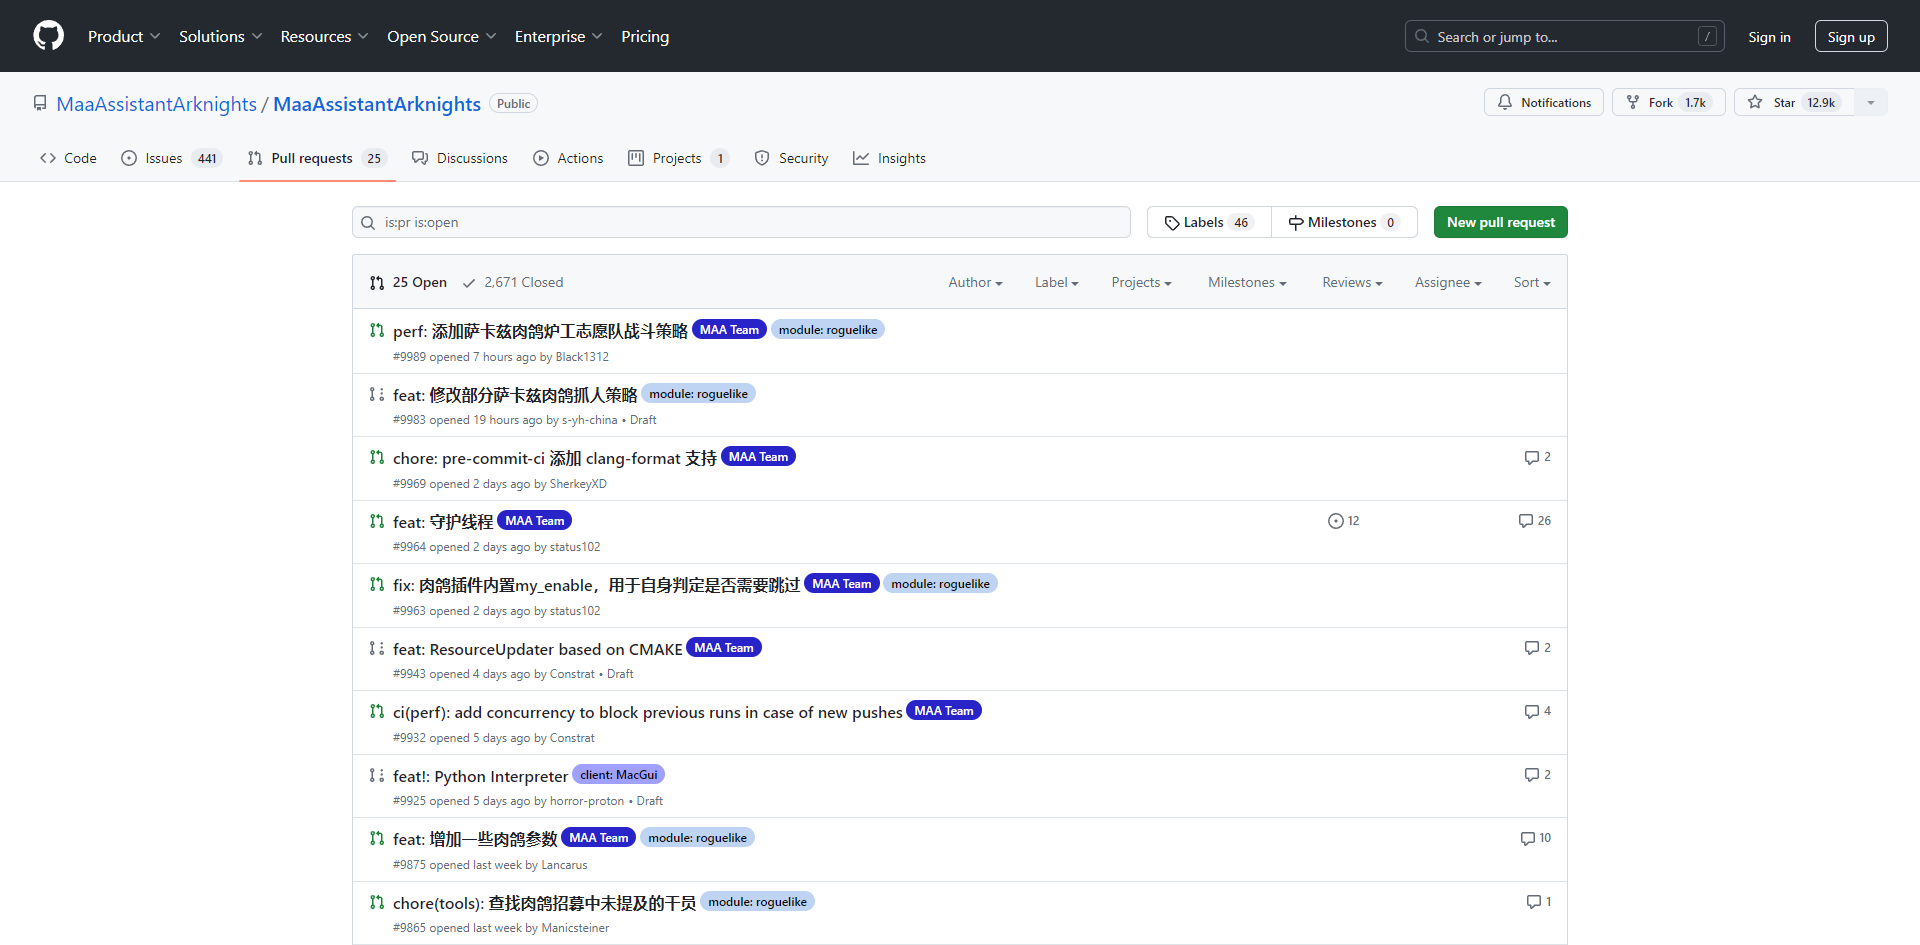
👇 Below are PRs currently submitted by contributors, waiting for approval
Conflict
Imagine there's a file A in the main repository with content "111."
You fork a copy and change its content to "222," but just as you're about to submit a PR, someone else also forks a copy, submits a PR, and changes file A to "333."
Now we see that both of you modified file A differently. Whose version should we listen to? This is a Conflict.
Conflicts are somewhat troublesome to resolve. This section only explains the concept to help you understand what's happening when you encounter one.
Complete Web-based PR Process
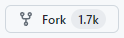
First, enter MAA's main repository and click the Fork button in the upper right corner to fork a copy of the code
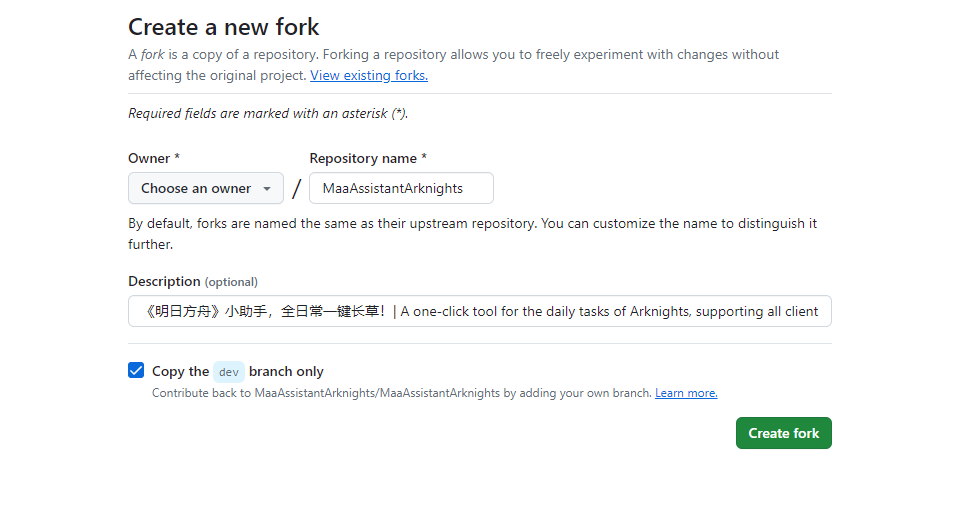
Then directly click "Create Fork"
You'll arrive at your personal repository. You can see the title is "YourName/MaaAssistantArknights" with small text below saying "forked from MaaAssistantArknights/MaaAssistantArknights"
Find the file you want to modify. You can click "Go to file" for global search, or browse through the folders below if you know where the file is
After opening the file, directly click the ✏️ in the upper right corner of the file to edit
Start editing! (For resource files, we recommend testing modifications in your local MAA folder first, confirming they work before pasting into the webpage to avoid errors)
After editing, click the button in the upper right corner to open the commit page and write what you changed
We have a simple commit title naming format. It's best to follow it, but if you really can't understand it, you can write something simple first.
Have a second file to modify? Discovered an error after finishing? No problem! Just repeat steps 4-7!
After all modifications are complete, make a PR! Click "Code" to return to your personal repository's homepage
If there's a "Compare & Pull Request" button, that's great - click it directly!
If not, don't worry - click the "Contribute" button below, then "Open Pull Request" - it's the same thing.You'll arrive at the main repository's PR page. Please verify that what you want to PR is what you intend to submit.
As shown in the image, there's a leftward arrow in the middle, requesting to merge the right side's PersonalName/MAA dev branch into the main repository/MAA dev branch.
Scrolling down shows the differences between these two branches - what you've changed.Then write a title and specific content of your modifications, then click confirm.
PR titles also need to follow the naming format. If you still can't understand it, you can write something simple first.Wait for MAA Team members to review! They might also provide feedback
👇 For example (purely for entertainment, don't take it seriously)If team members say to modify some small issues, return to your personal repository and repeat steps 4-7!
Note: you don't need to repeat steps 1-2 (re-fork) and steps 9-10 (re-Pull Request). Your current Pull Request is still pending review, and subsequent modifications will directly enter this Pull Request.
👇 For example, you can see an additional modification entry at the bottomOnce team members approve, everything is complete! Your modifications have entered MAA's main repository!
Next time you want to submit another PR, first return to your personal repository's homepage and click "Sync fork" to synchronize your repository with the main repository.
Note here: if there's a red "Discard 1 commit," click the red one; if not, then click the green "Update branch."
You can then repeat steps 4-10 to make modifications again.
After version release, your GitHub avatar will automatically be added to the contributors list. Thank you very much for your selfless contributions!Why are they all anime characters? Oh wait, I am too, never mind then
Contributors
Thanks to all friends who participated in development/testing. Everyone's help makes MAA better and better! (*´▽ `)ノノ